
Ultimate Guide to Bluetooth APRS Setup: VR-N76 Series
In the modern era of amateur radio, the Bluetooth APRS radio has revolutionized how hams track their positions and interact with digital networks. The VGC VR-N76 stands at the forefront of this technology, acting as a high-performance KISS TNC device that seamlessly bridges your handheld radio with your smartphone.
Looking for the Best Bluetooth APRS Radio?
Experience real-time tracking and seamless app integration with the VR-N76 Dual-Band Transceiver.
View VR-N76 Product PageUnderstanding Bluetooth APRS Technology
Unlike traditional packet radio which requires complex wiring, a Bluetooth APRS radio like the VR-N76 uses an internal wireless data link. This allows your radio to transmit and receive APRS (Automatic Packet Reporting System) beacons while your smartphone handles the heavy lifting of map visualization and messaging via the HT App.
Step 1: Enabling GPS and Positioning
- Cold Start: Ensure you are outdoors with a clear view of the sky. The built-in GPS module requires a stable lock before your first APRS beacon can be sent.
- Time Sync: Once the GPS mark appears and the internal clock synchronizes with satellite time, your VR-N76 is ready for digital tracking.
Step 2: Configuring Callsign and SSID
Your identity on the APRS network is defined by your callsign and an SSID suffix that identifies your station type.
- Navigate to the APRS Settings menu on your VR-N76.
- Enter Callsign: Input your amateur radio callsign (e.g., W1AW).
-
Set SSID: For handheld Bluetooth APRS radios, use suffix
-7or-10. - Passcode: Enter your 5-digit APRS-IS passcode for iGate functionality.
Step 3: Bluetooth KISS TNC & App Link
To unlock the full potential of your radio, you must activate the KISS TNC mode via Bluetooth.
- Enable Bluetooth on your VR-N76 and pair it with your mobile device.
- Open the HT App and select the VR-N76 as your primary hardware.
- The app will now use the radio as a wireless modem, allowing you to see local hams on a real-time map.
Step 4: Setting the Beaconing Interval
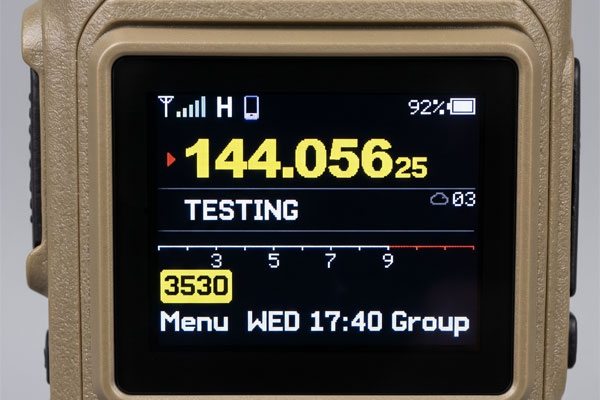
To avoid congestion on the 144.390 MHz (or local frequency) network, set an appropriate sharing interval:
Need Firmware Updates?
Ensure your VR-N76 has the latest 2026 firmware for optimized APRS performance and KISS TNC stability.
Go to Firmware UpdatesNext Steps for Optimal Node Performance:
Looking for Open-Ecosystem Radio Solutions?
Discover how the VR-N76 hardware terminal eliminates rigid PC cables by offloading UI controls, firmware syncing, and real-time map tracking straight to the HT APP environment.